
THE RIGHT WAY TO START – AS TIGHT AS POSSIBLE RIGHT UNDER THE BUST.
(Be sure to read the post about the wrong way to do this project before you read this one. Also please read over the great Threads magazine article before you start too. Good luck and have fun!)
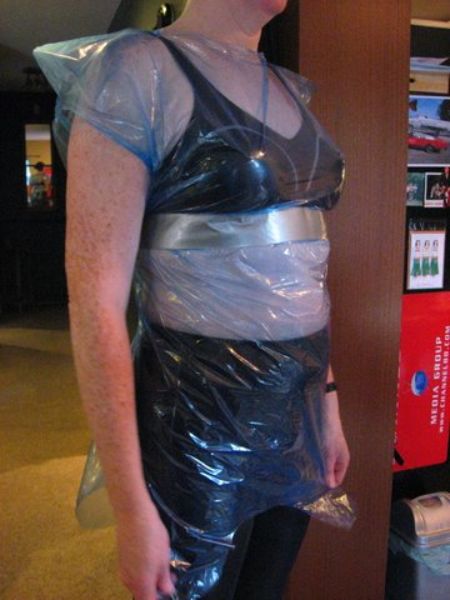
Start wrapping under the bust, as snugly as possible. You need to make it as tight as possible otherwise mannequin will turn out larger than the person. Make sure the subject can breathe, has access to water and has been for a pee first!
Getting the waist and hips started and starting to form the bust area.
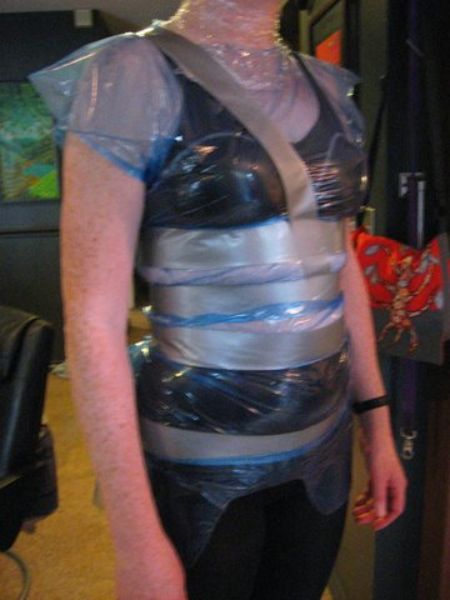
Then proceed to a “cross-your-heart” taping that goes from one shoulder across under the opposite breast then around to the back, to define the bust area. You’ll use three layers of tape, with the second arranged vertically, wrapping very snugly and extend the wrapping around the upper arms and onto the neck, always keeping the bust contours well defined.
Building up a cap sleeve over the shoulder and having subject keep arms as still as possible. Create a cap sleeve effect over the shoulders.
Building up the waist with subject keeping arms as still as possible.
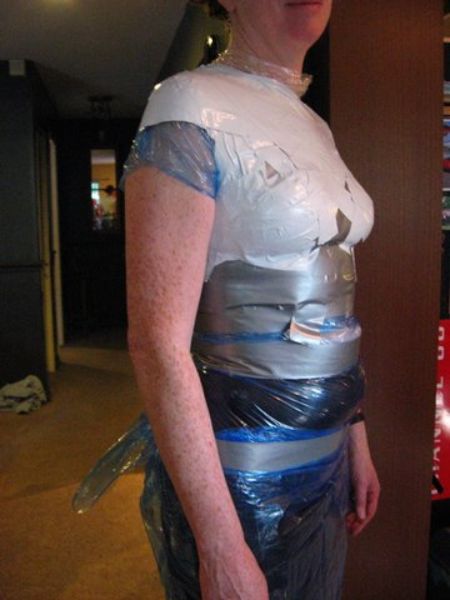
Building up more layers around the waist. Remember, we’re only using white tape because that’s what she bought but using ALL SILVER ONLY is much better as it is stronger.
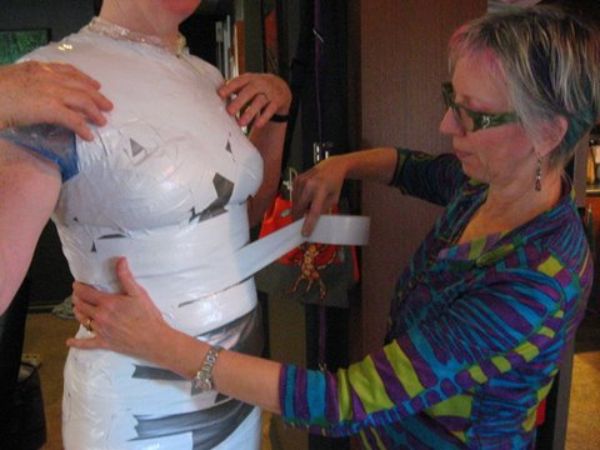
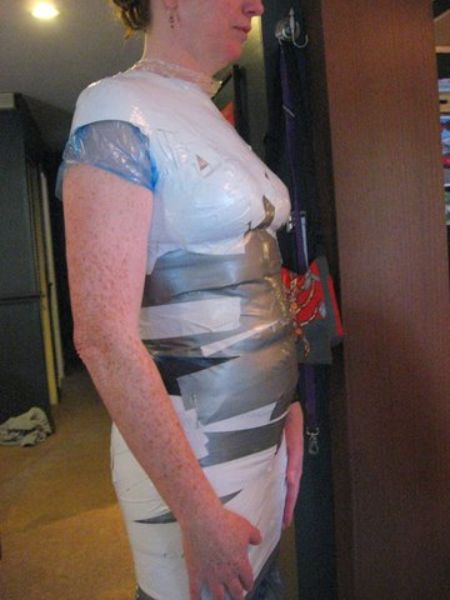
Taping in the waist very tightly with final third layer of duct tape.

Finished shell front, as tight and true as possible without having Rowan faint.
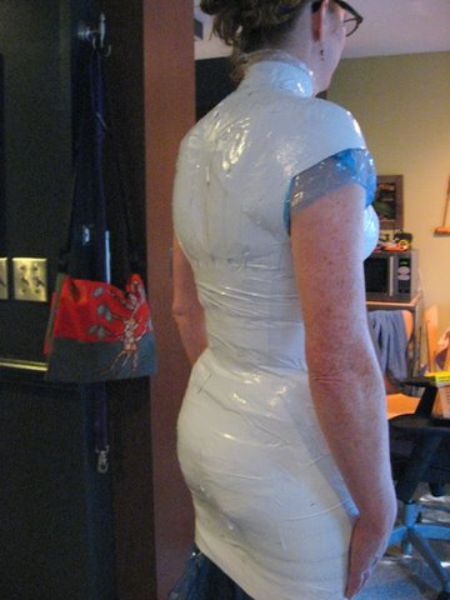
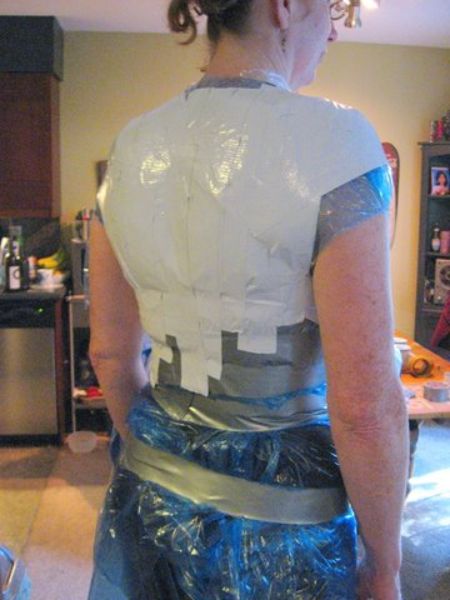
The finished shell back, nice and tight and fingertip length.
Use silver duct tape instead of white tape, as it is much stronger. Using first layer in sliver then maybe 2nd and/or 3rd layer in different color then you’ll know you have 3 layers. We made it fingertip length.
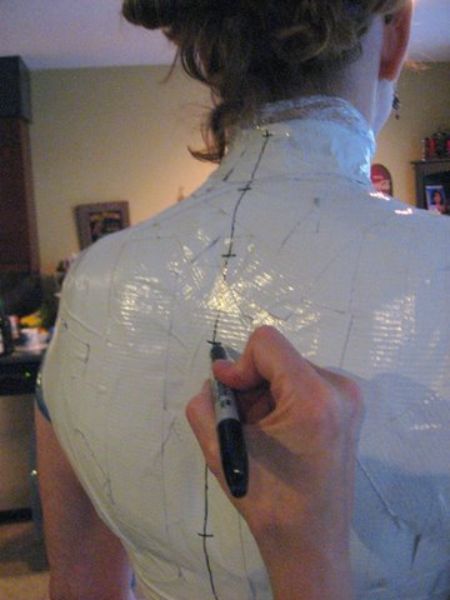
Mark the final layer carefully with plumb lines at center front and center back, around the waist, and carefully establish the proper height and posture by marking the same distance from the floor to the hip level on four sides. Mark crosshatches down the center back about every 3 inches apart to make sure it lines up properly later.
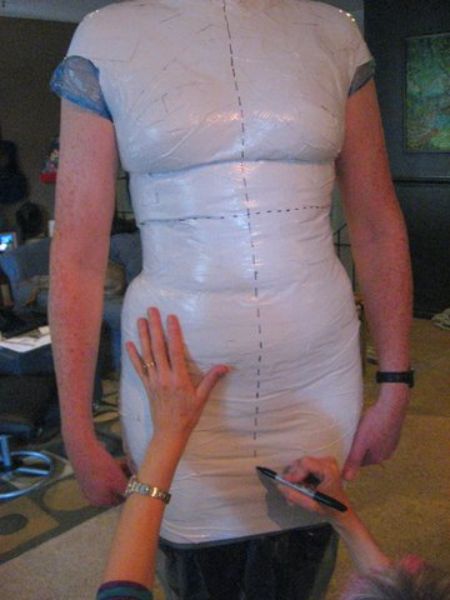
Mark the center front, back, side, waist meridians with dashed lines in permanent felt pen with a steady hand.
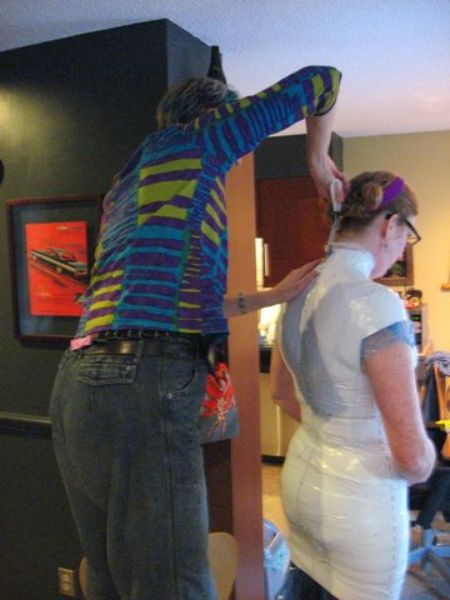
I had to start cutting the neck while standing on a chair as my subject is 6 feet tall.
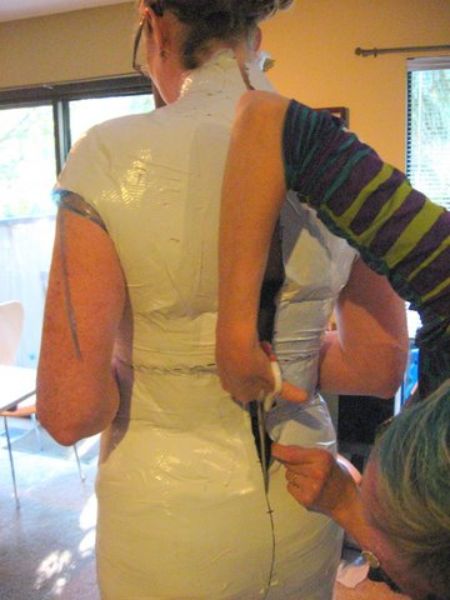
She trusted me to do this?? Good think I have a steady hand. This time I stopped cutting at the fullest part of the hips and then we wiggled her out of it.
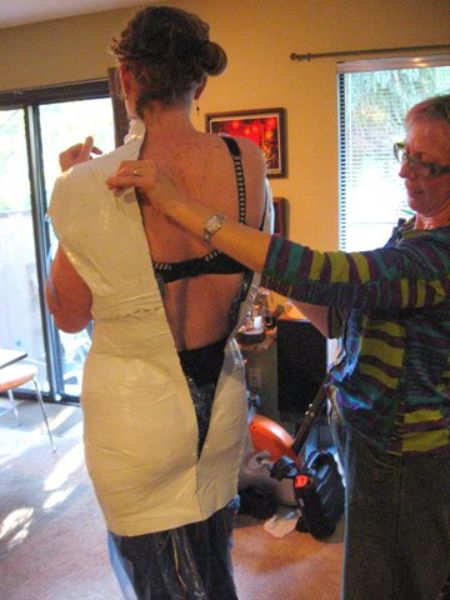
Cut down from the neck down the center back just to widest part of hips then carefully slide out of this “dress”. Hang on strong wooden coat hanger. Trim away excess plastic bag.
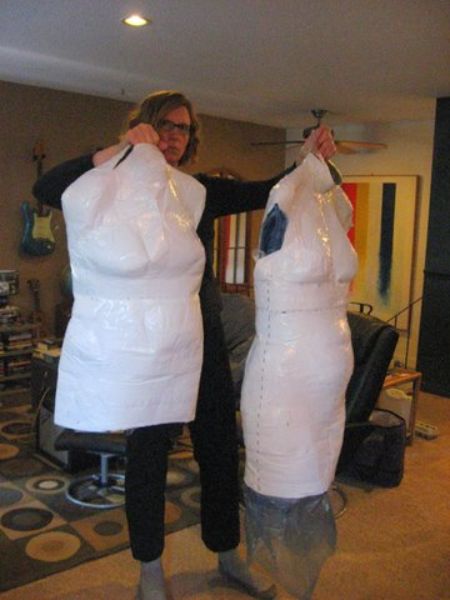
Much happier with longer and slimmer dummy number 2. It was definitely worth making a second time.
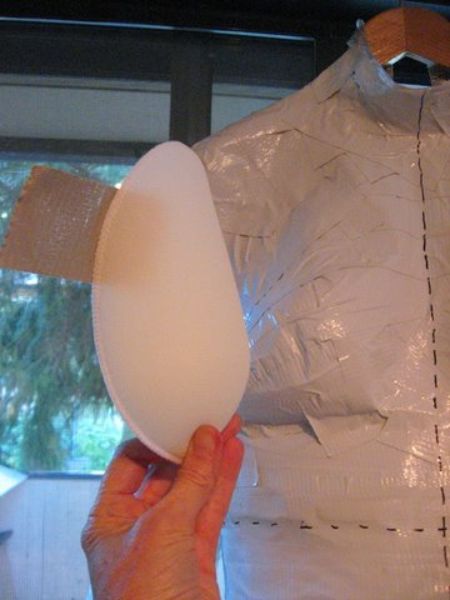
Shaped foam shoulder pads help support the bust area.
The shaped shoulder pads taped in at the bust to help keep this section from not collapsing over time. This is definitely as good idea as the first one we tried was already collapsing a bit in the bust without this extra foam support.
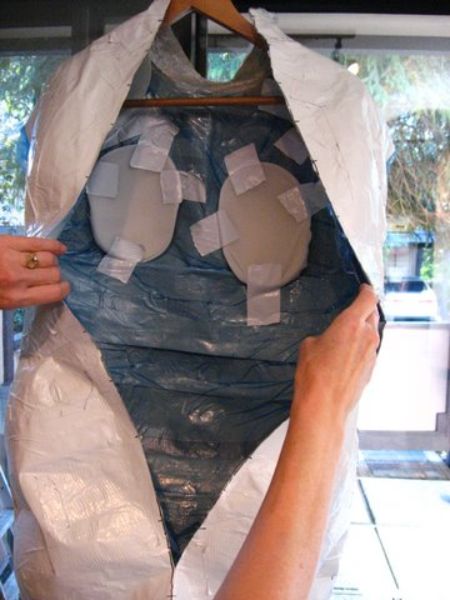
Raglan shoulder pads for the rump to give dummy some extra support here.
Tape the shoulder pads into breast and shoulders and butt.
Tape upper center back closed with smallish strips outside and a few inside. Finish with some wide strips across the back seam to fully secure back opening.
Filling up the dummy from the back then closing it up.
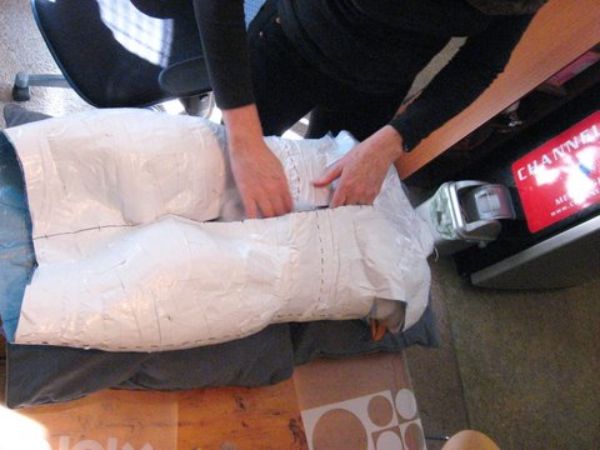
Lay body down on pillows on a table and start to stuff the upper torso.
Stuff as much as possible generally then tape a bag across the bottom opening and hang up. Stuff in the shoulder openings and then tape shut. Fill in the neck and then seal up finishing with a turtleneck effect around the neck. Lie it down again and seal up some more of the back to about 2 inches below waist. Continue to stuff upper torso as firmly as possible.
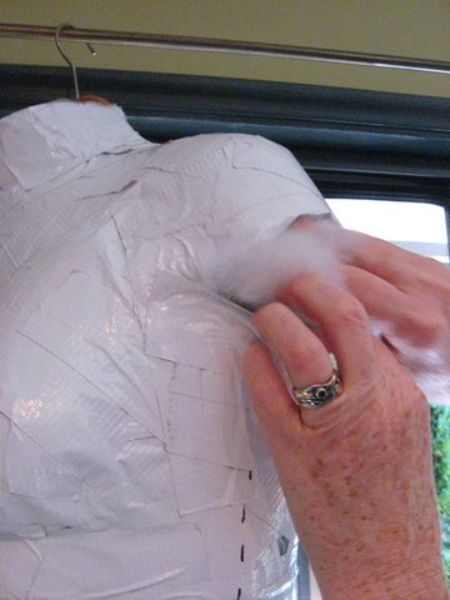
Padding out the shoulders a bit more, then close off with more tape.
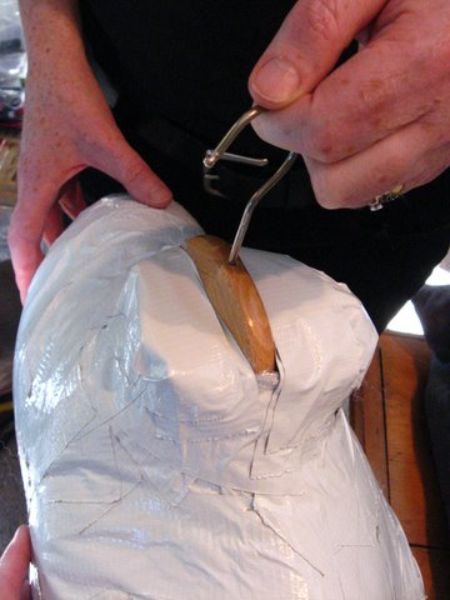
The neck finished off nicely with heavy wooden hanger as the main support as this dummy will hang only, will not stand on a pole.
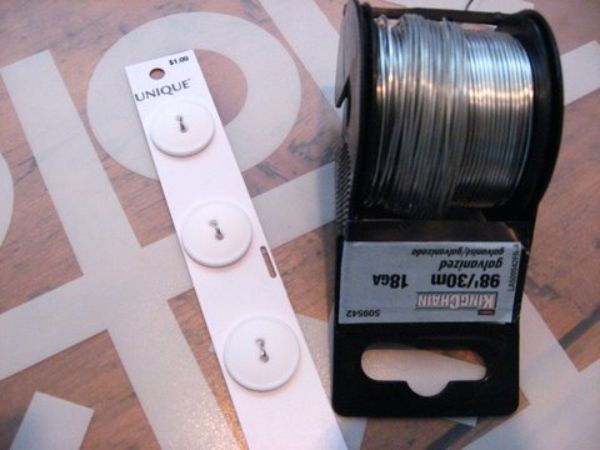
This is the wire and buttons I used for my idea of securing the waist diameter so that it won’t gradually expand on the dummy. I think this was a very good idea and have not seen this option shown anywhere else so please consider trying this as described below.
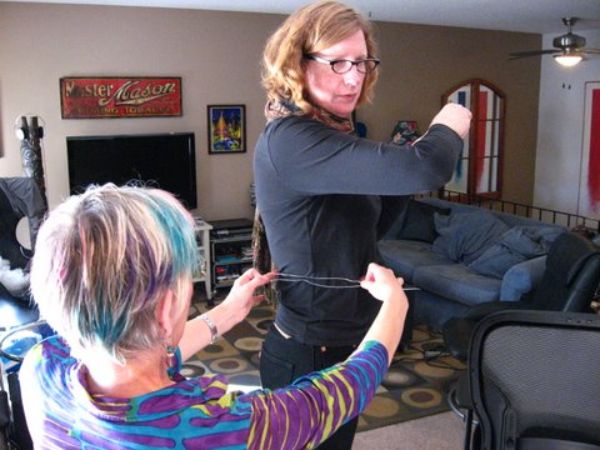
Visually measure the subject’s width at waist. Use big calipers if you have them. Just hold the wire across the waist and visually measure, mark wire with black felt pen at width. Cut wire about 2 1/2 inches longer. Punch a hole in CB waist, insert wire already threaded through a button. Feed it across through stuffing and feed out through the “belly Button”. You could feed wire back and turn it off inside the body but we twisted it off on outside of body.

Mark the natural waist diameter on the wire with permanent felt pen.
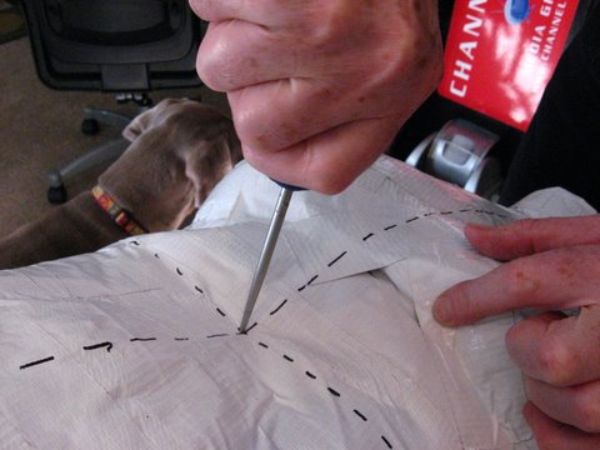
Puncture the tape at waist at CB center back and CF center front, just big enough hole to guide wire through.

Insert the wire with a slim flat stopping button at CF center front and carefully guide wire through to hole at CB center back.
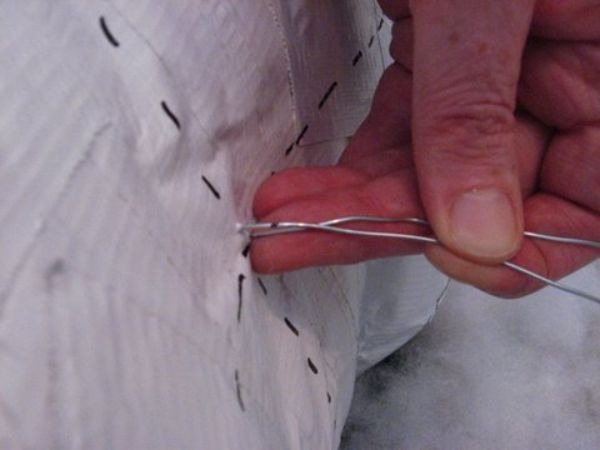
Pull the wire through until you see the felt pen mark then put wire through button as in next picture.
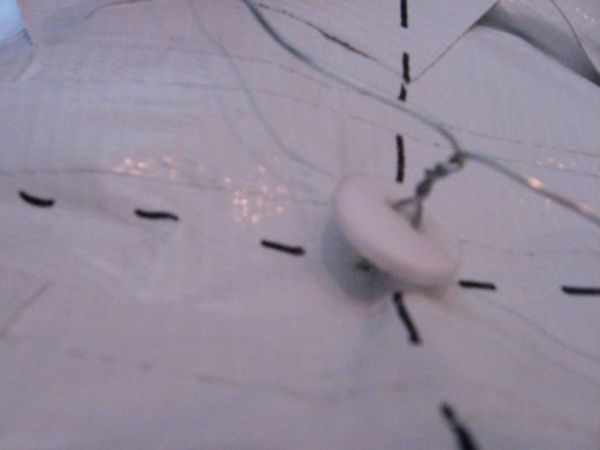
Push wire through buttonholes, twist off and flatten with pliers.
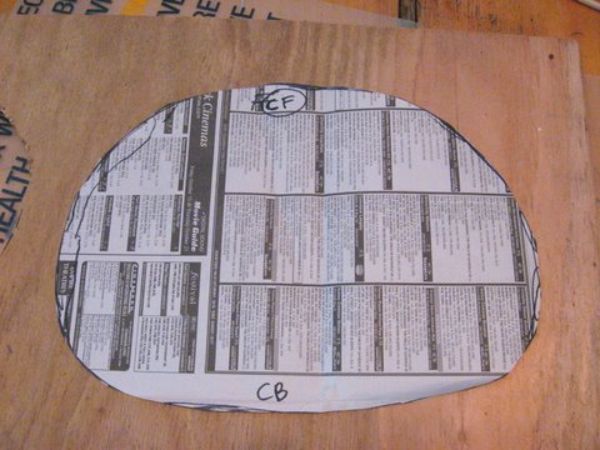
When nearly done, hold torso upright on newspaper and mark the natural bottom shape with felt pen. Remove torso and smooth out the line if a bit bumpy. Cut out newspaper pattern, mark CB and CF as above and cut out plywood or heavy cardboard bottom.
Stuff out bottom some more then staple the bottom to the form bottom then finish off the stuffing.
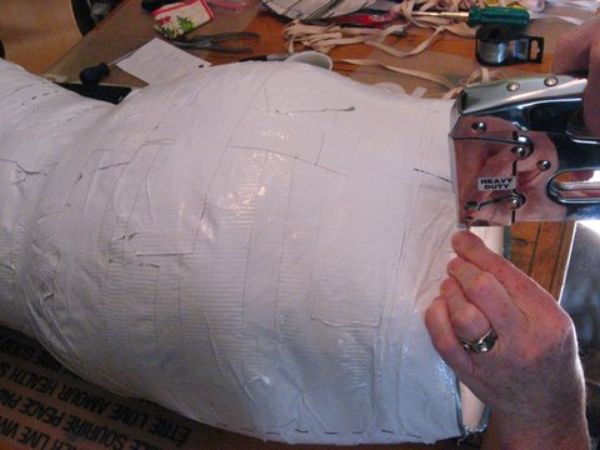
Staple base of duct tape dummy to plywood base with staple gun.
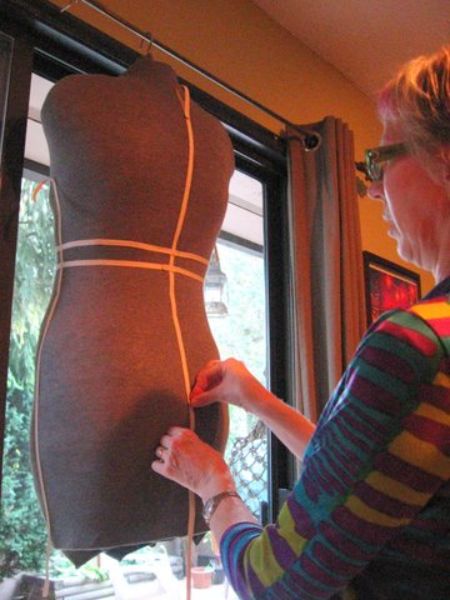
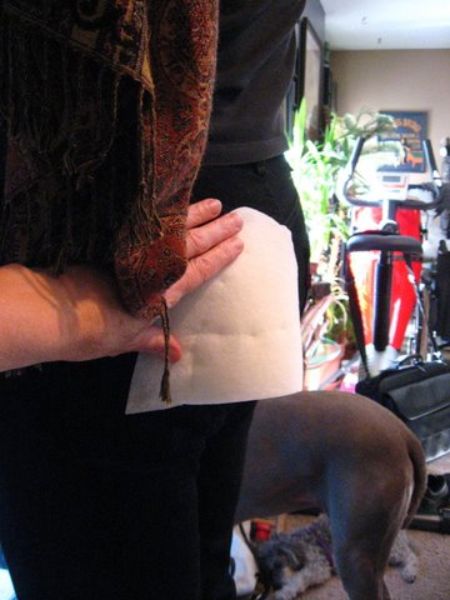
Slip on jersey skin and pin in 1/4″ twill tape to mark the vertical meridians first then the horizontal ones.
Pin in vertical side lines with twill tape, defining most comfortable armhole opening using a favorite t-shirt
Pin around waist at 2” intervals, covering the button.

A strong wooden hanger placed inside before stuffing is the start of either a hanging form or a simple stand. For a stand, use a piece of PVC piping or a cardboard tube long enough that you can cut it to your height when the form is ready to set onto its base (you can use a Christmas-tree stand on the outside of the tube, or a microphone stand inside the tube). Tape the hanger to the tube and put it inside the form before stuffing it, then start stuffing as explained above. Tape the opening at center back closed as you complete the stuffing, then use the horizontal level hip markings to help arrange the form on the tube to match the subject’s posture.
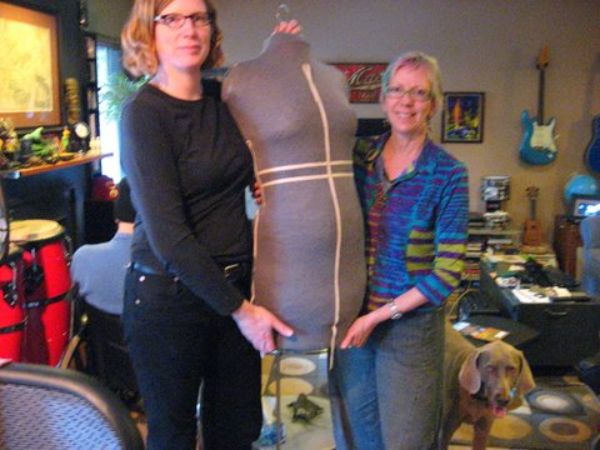
Rowan is thrilled with her body double and has already used it a few times to help her create her own custom fit clothing, at last! Good luck with your own as this is such a great idea if you’re not a standard body shape and size.
By Paula O’Brien
See Threads magazine for more suggestions and pictures
Published on: Jun 25, 2011