
Making a duct tape body-double mannequin, read this for some problems to avoid and then read the right way to do it
See Threads magazine for more suggestions and pictures
http://www.threadsmagazine.com/item/3631/duct-tape-dress-form-2
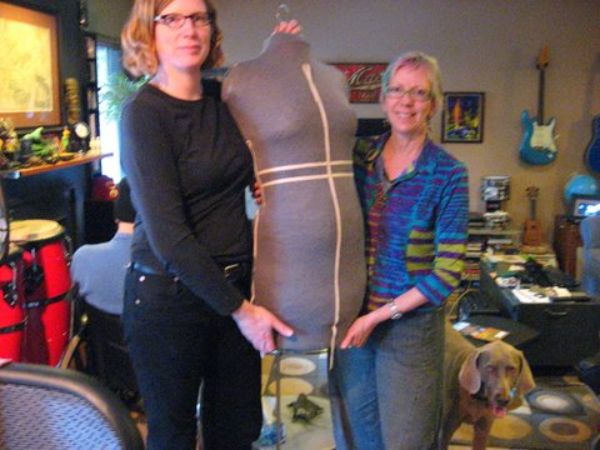
The finished duct tape body double mannequin. A big success!
Last November, my sister-in-law and I created a duct tape body double dressmaker’s dummy for her 6 foot tall body. She was very keen as she could never find a ready made dummy that would have the correct body height to match hers. I’d seen these articles in Thread magazine for years so we planned a weekend rendezvous and created one. I’m going to share with you our experiences, failures and eventual great success and maybe you know someone who’d like to create a body double too.
Supplies – Have at least these amounts on hand, you can always take unopened supplies back later
2-3 rolls silver duct tape
5 bags of 20 ounce/ 567 gram each polyfill stuffing
One strong wooden coat hanger
1 1/4 yd fine jersey to make the final skin in nice color, skin tone maybe or gray, lighter colors will reveal the meridian lines drawn on underneath which can be helpful when pinning on the twill tape
10 yds of 3/8 inch twill tape in a nice toning or contrast color. This is way more than you need but have it in stock anyway, very useful stuff.
You need 2 helpers. You can do it with only one helper but it will take a longer time.
Straight pins with flat heads, not ball heads to pin twill tape into stuffed dummy
1/4 to 3/8 inch plywood or thick cardboard to make a cutout for bottom
Optional- Upholstery needle and heavy crochet cotton
2 big garbage bags
Plastic Wrap for neck and underarms
Measuring tape
Permanent black felt pen
Staple gun
Flat screwdriver to pull out staples
Pliers to pull out straight pins or staples
Foam raglan shoulder pads for breasts, shoulders, buttocks (again buy more and return unused later)
Try some kind of shoulder pad for stuffing out the butt
Heavy (flexible) wire
2 3/4 inch flat buttons
Thimble
My cost was about $100 but many of the items on the supply list will be things you already have on hand. If you ever decide your dummy needs to be abandoned, everything but the duct tape can be reused in some future projects and 3 rolls of duct tape cost about $25.00.
Takes just over an hour with 2 helpers.
Two helpers are best, one to make tape strips and one to tape the subject.
A plastic chair back or glass window to stick tape to that will not be damaged by pulling off the duct tape later. This way the tape assistant can prepare the lengths of tape that the taper requests.
Like duct-tape dress form #1 in Threads magazine, this one uses three layers of tape.
Start by writing down measurements and have this at hand:
Above bust
Bust
Below bust
Waist
High hip
Fullest hip
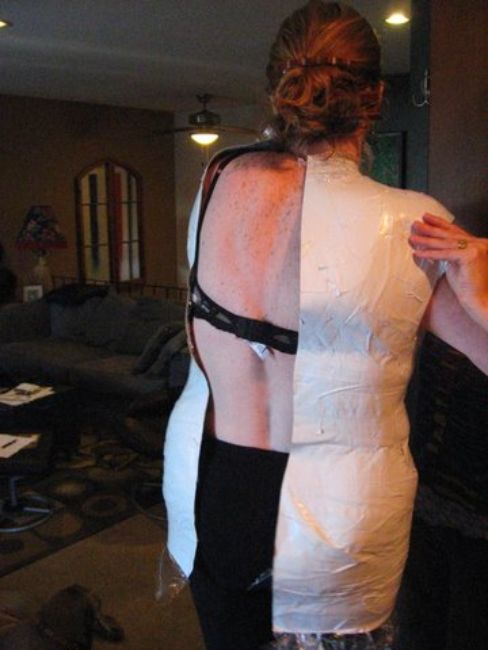
The subject should PEE FIRST, wear rubbery soled shoes, have a drink at hand, not assist too much, move body as little as possible, take little breaks to flex legs, knees as little as possible but as much as needed to keep from stiffening up too much. Don’t wear a sports bra unless that is your normal bra. Wear your normal bra and tight pantyhose. Wear a garbage bag and another down below instead of a t-shirt to keep duct tape shell as close to body as possible.
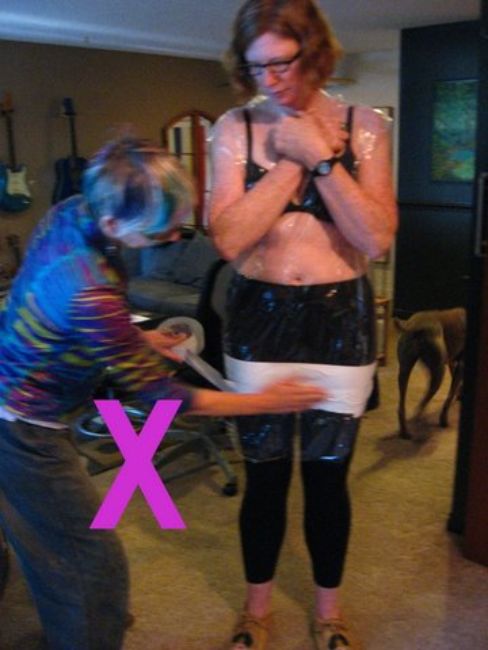
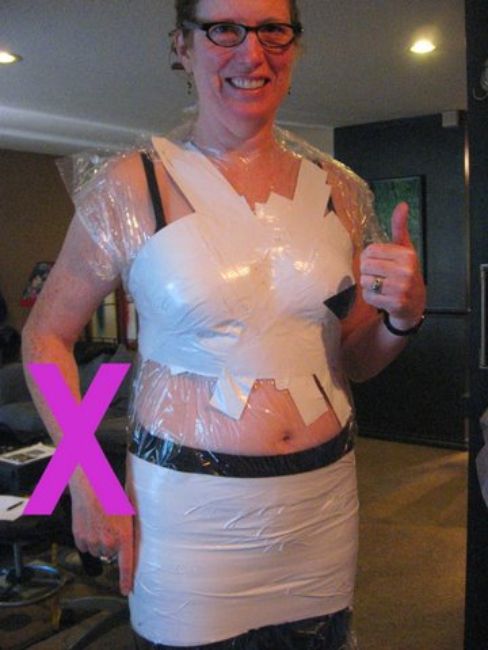
Wrong place to start wrapping, should start under the bust.
The wrong way – don’t start on the bust until the waist is tightly secured or the whole thing will end up too large.
Suzy couldn’t watch, too embarrassing…
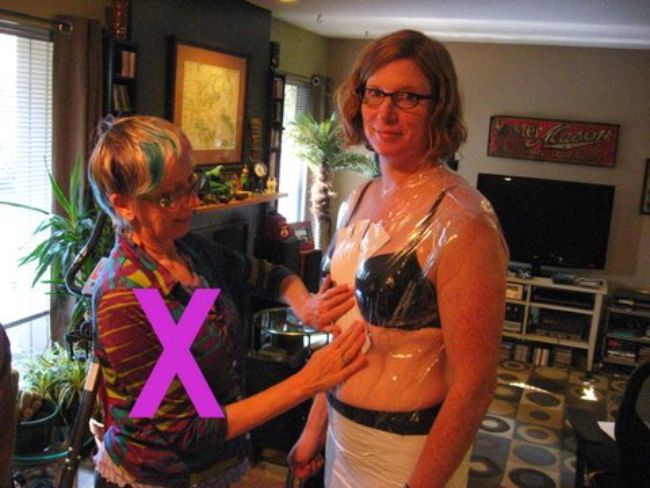
The wrong way – pull in entire waist area tightly before building up the bust nicely.
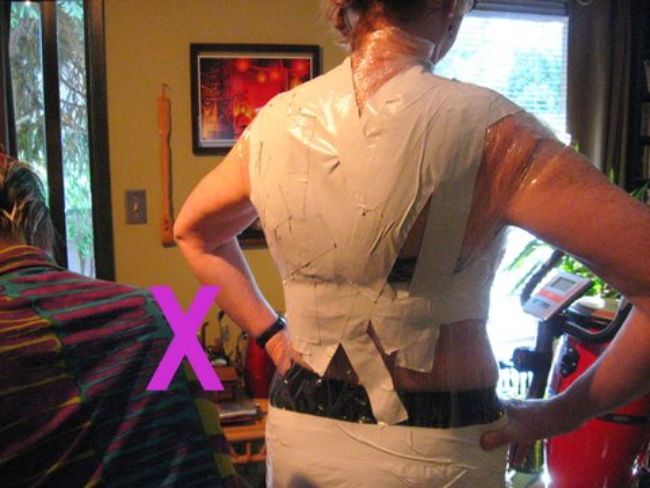
The wrong way – you really need to pull in the entire waist area before building up the back or else the dummy will get too large.
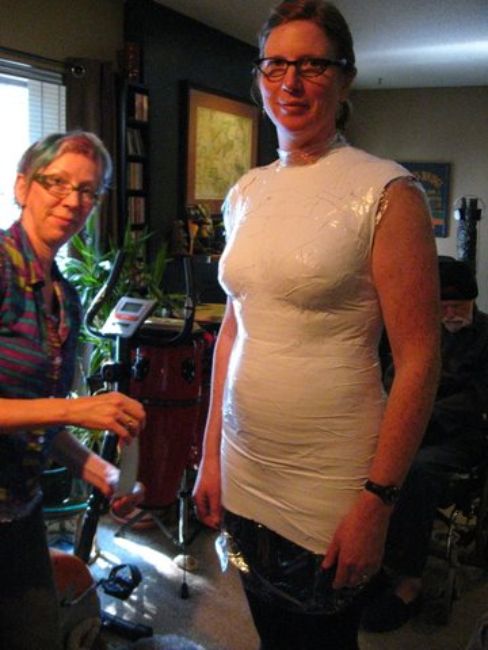
Finished shell number one before markings.
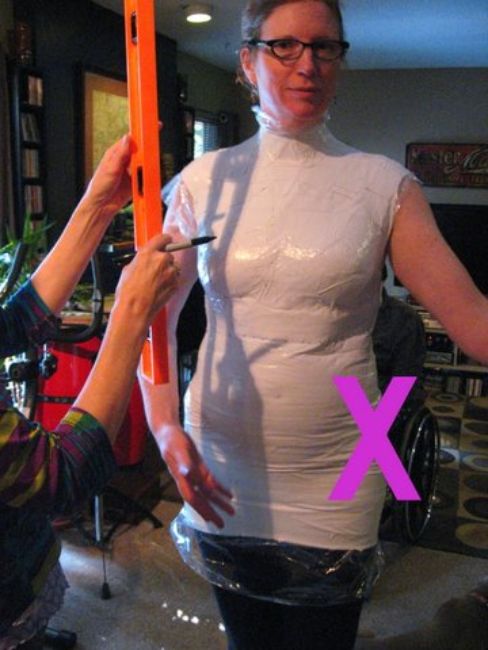
Don’t let the subject move their arms too much as this creates slackness in the shape. NO, I’m not going to hit her with the level but I did use it to determine the true vertical on side seam.
We cut all the way down the center back on this first version then carefully pulled it off her. It’s better to NOT cut all the way to the bottom.
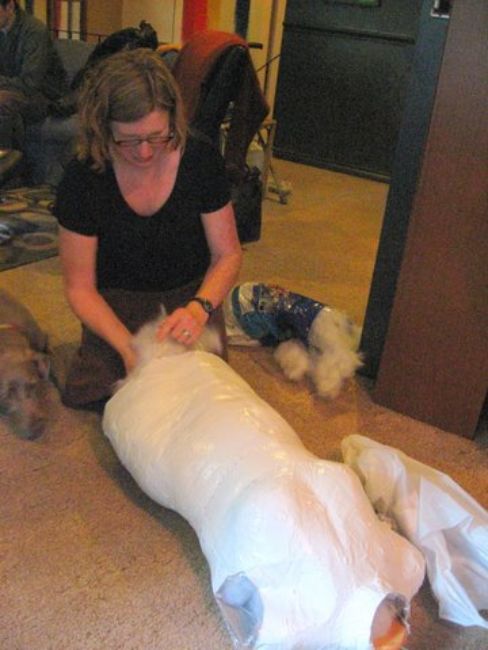
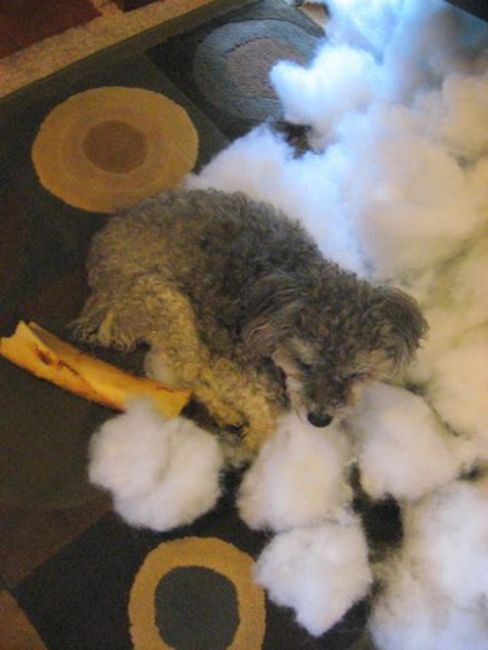
Shoving in as much polyfill as possible to keep it as firmly packed as possible so it will not collapse and sag over time.
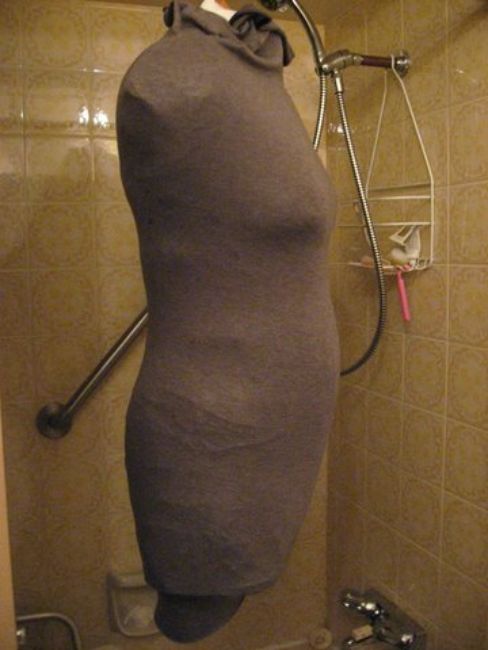
Finished dummy number one with a simple grey jersey tube pulled over for a skin. We looked at this and decided to make another one right away as this is just too portly and big and is not true to her form. We were not strict and tight enough with initial binding. Pee break, snack break then we started right away on number two!
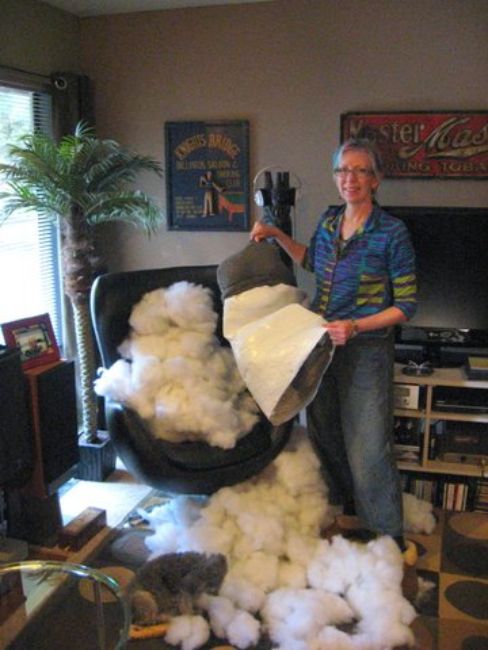
Pulled all the stuffing out and we’ll start again and get it right!
Thanks Suzy, you’re a big help here.
Now go and read the article about the right way to do this project.
Published on: Jun 21, 2011